This tutorial shows how to use the PDF Extract Image tool step by step on the live PDF Toolkit site. You will learn how to upload a PDF, extract embedded images, preview and manage the results, then download a single image or export selected images as a ZIP file.
Why Use PDF Extract Image?
Extract Embedded Images
Pull images directly from one or multiple PDFs without taking manual screenshots of every page.
Preview Before Download
Open the image preview dialog, zoom in, and delete unwanted items before downloading.
Private Local Processing
The tool processes PDFs in your browser, so your files are not uploaded to a server.
Open the live tool and follow along using the same buttons shown in the screenshots below.
Open PDF Extract Image ToolQuick Walkthrough (GIF)
This GIF shows the complete flow: upload a PDF, click Extract images, review the results, preview one image, and use the batch action bar.
How to Extract Images from PDF (Step by Step)
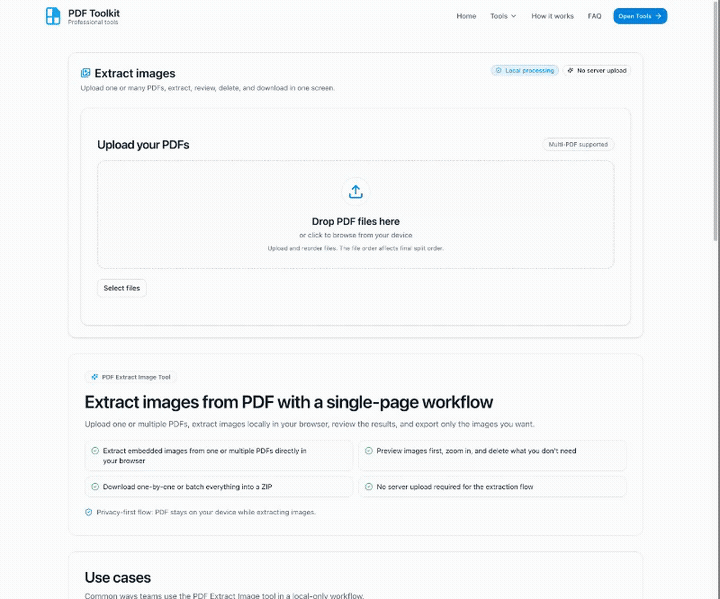
Open the PDF Extract Image Tool

Visit the tool page and look for the Upload your PDFs card. The page also highlights that the workflow uses Local processing and No server upload.
Upload a PDF and Click “Extract images”
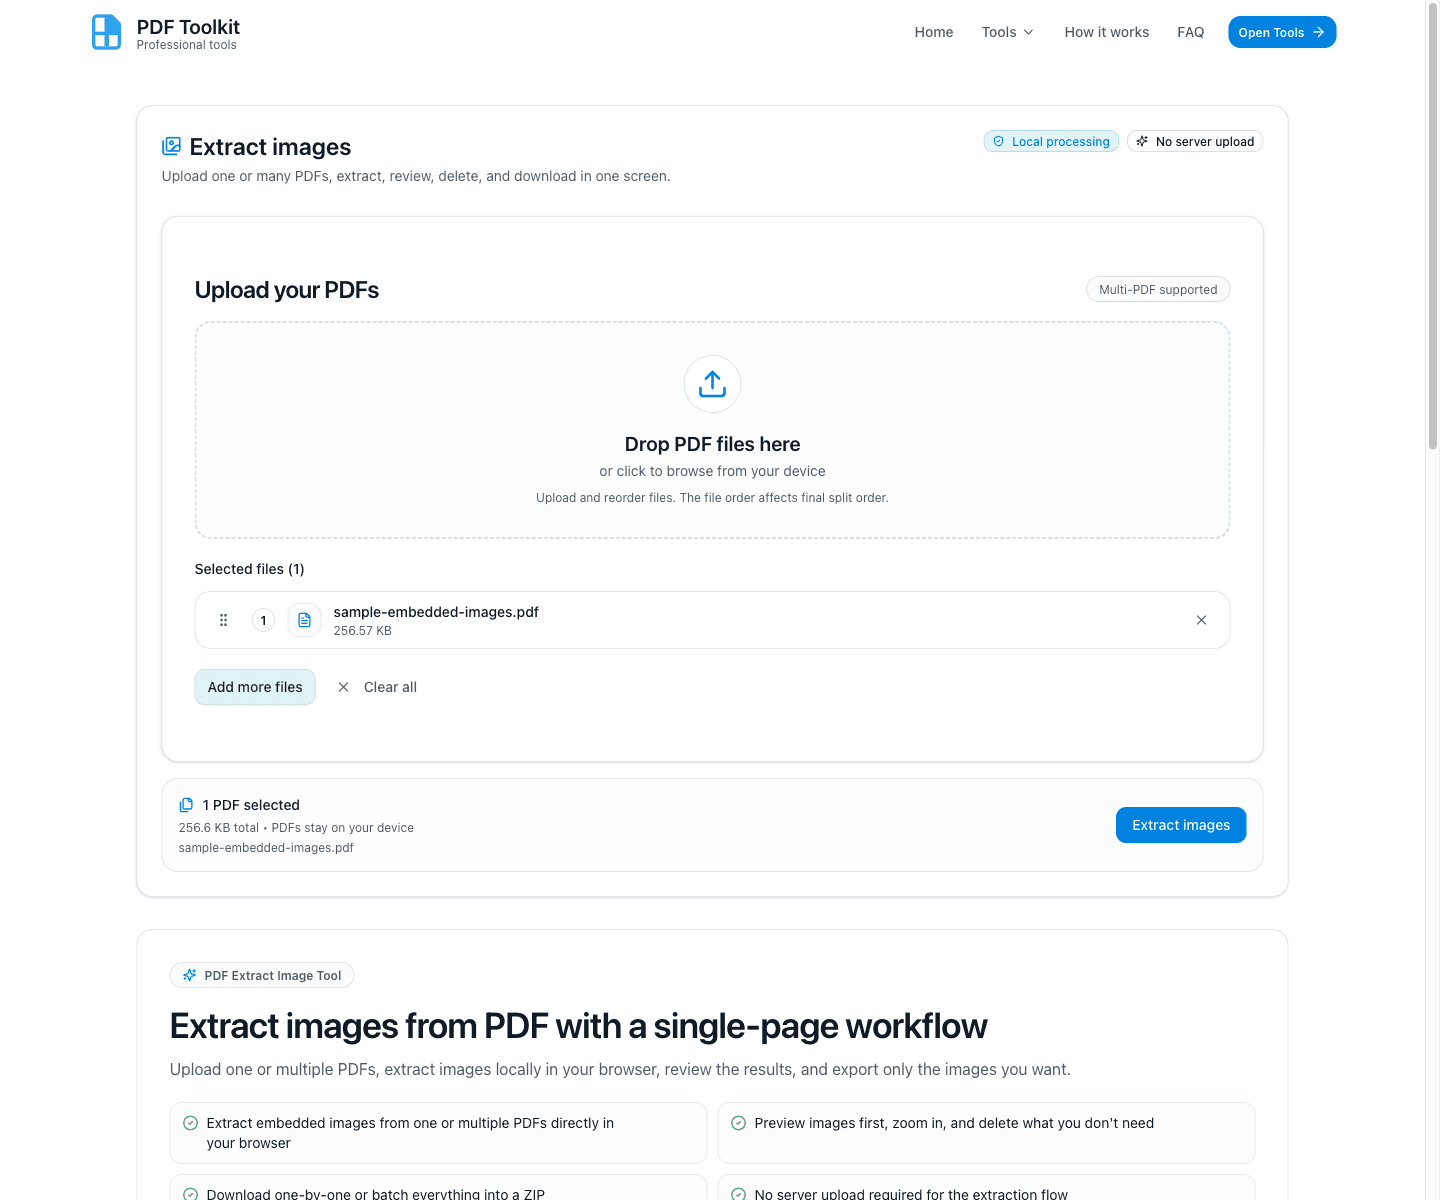
Click Select files (or drop your PDF into the upload area), then wait for the selected file list to appear. When your file is ready, click Extract images.
- The selected file name and total size are shown before extraction starts.
- You can use Add more files for multi-PDF extraction.
- Use Start over if you want to reset the workspace and choose a different PDF.
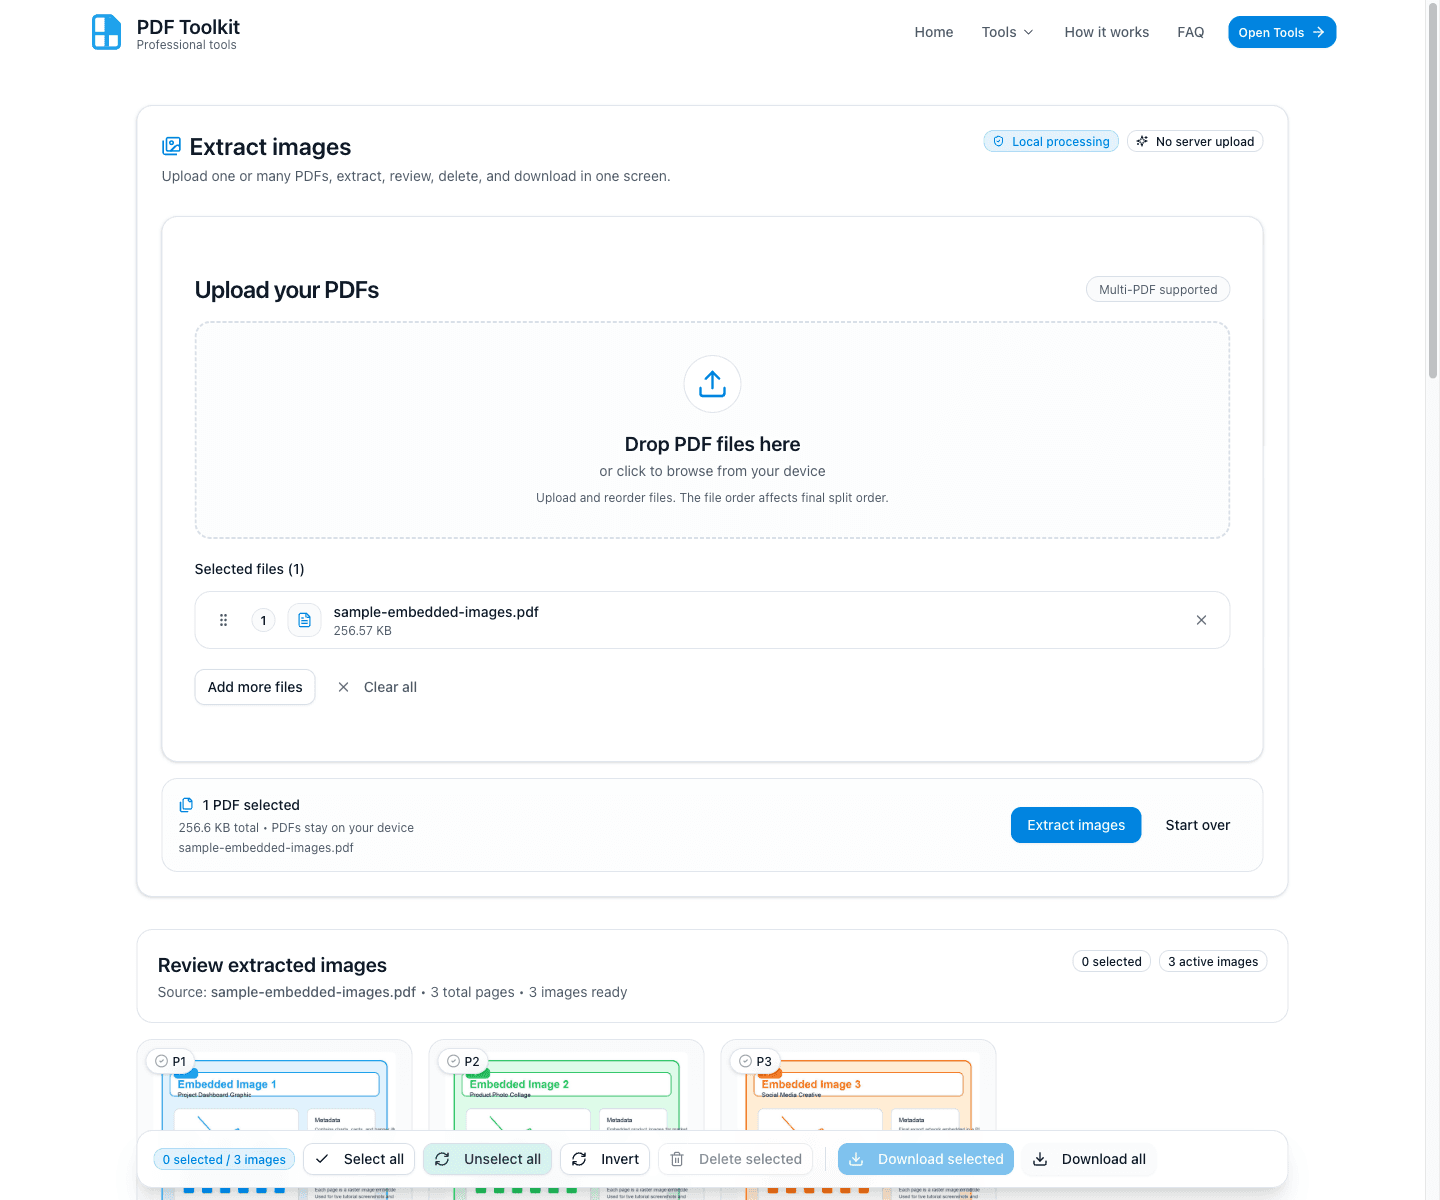
Review the Extracted Images Grid

After extraction, the tool loads the Review extracted images section. Each image appears as a card with a preview, page badge, filename, source PDF name, dimensions, and file size.
- Use the card actions to Preview image, Download image, or Delete image.
- The card footer also includes Select/Selected and Zoom buttons.
- The sticky bottom bar shows the current selection count and batch actions.
Preview an Image and Zoom Before Downloading

Click Preview image (eye icon) or Zoom on a card to open the preview dialog. This is useful for checking image quality before exporting.
- Use Zoom out, Zoom in, and Reset (100%) to inspect the image.
- The Dialog width options help when reviewing wider images.
- You can download or delete the image directly from the dialog.
Manage Selections and Download Selected or All Images
Use the sticky action bar to control batch selection and downloads. This is the fastest way to clean up results and export only what you need.
- Select all, Unselect all, and Invert let you manage large result sets quickly.
- Delete selected removes checked image cards from the current result list.
- Download selected exports only selected images (ZIP), while Download all exports every active image (ZIP).
Best Practices and Notes
- This tool extracts embedded images from PDFs. Some visuals may not be extractable if they are flattened into the page rendering.
- Use the preview dialog before downloading when image quality, orientation, or content matters.
- Use Delete selected to remove unwanted results before batch ZIP export.
- Single-image downloads are convenient for quick saves, while Download selected and Download all are better for batch export.
- For multiple source PDFs, keep an eye on the source filename shown in each image card to avoid mixing results.
Try the Tool
Use the live PDF Extract Image tool to extract and export images from PDFs securely in your browser.