This tutorial shows how to use the PDF to Image tool step by step on the live PDF Toolkit site. You will learn how to upload a PDF, choose specific pages, preview them, configure JPG/PNG output settings, and convert the selected pages into downloadable images.
Why Use PDF to Image?
Convert PDF Pages to Images
Export selected PDF pages as PNG or JPG for sharing, design work, presentations, or documentation.
Page + Output Control
Select exact pages, use custom ranges, choose JPG or PNG, and set screen or print resolution.
Private Browser Processing
Conversion runs in your browser, so your PDF pages stay on your device during processing.
Open the live PDF to Image tool and follow the same buttons and settings shown below.
Open PDF to Image ToolQuick Walkthrough (GIF)

This GIF shows the full flow: upload a PDF, select pages, configure JPG/PNG settings, preview a page, and click Convert & download.
How to Convert PDF to Image (Step by Step)
Open the PDF to Image Tool

Open the tool page and look for the Upload your PDFs section. The page explains the split-style workflow: upload, preview, select, and export pages as images.
Upload a PDF and Review the Page Selection Grid

Click Select files (or drop your PDF into the upload area). After loading, the tool opens the Select pages to keep workflow with page thumbnails.
- The header shows files, pages, and selected count.
- You can use Select all, Unselect all, and Invert for fast page selection changes.
- The sticky footer shows how many pages are selected and whether the result will download as a ZIP.
Apply a Custom Page Range and Configure Output Settings
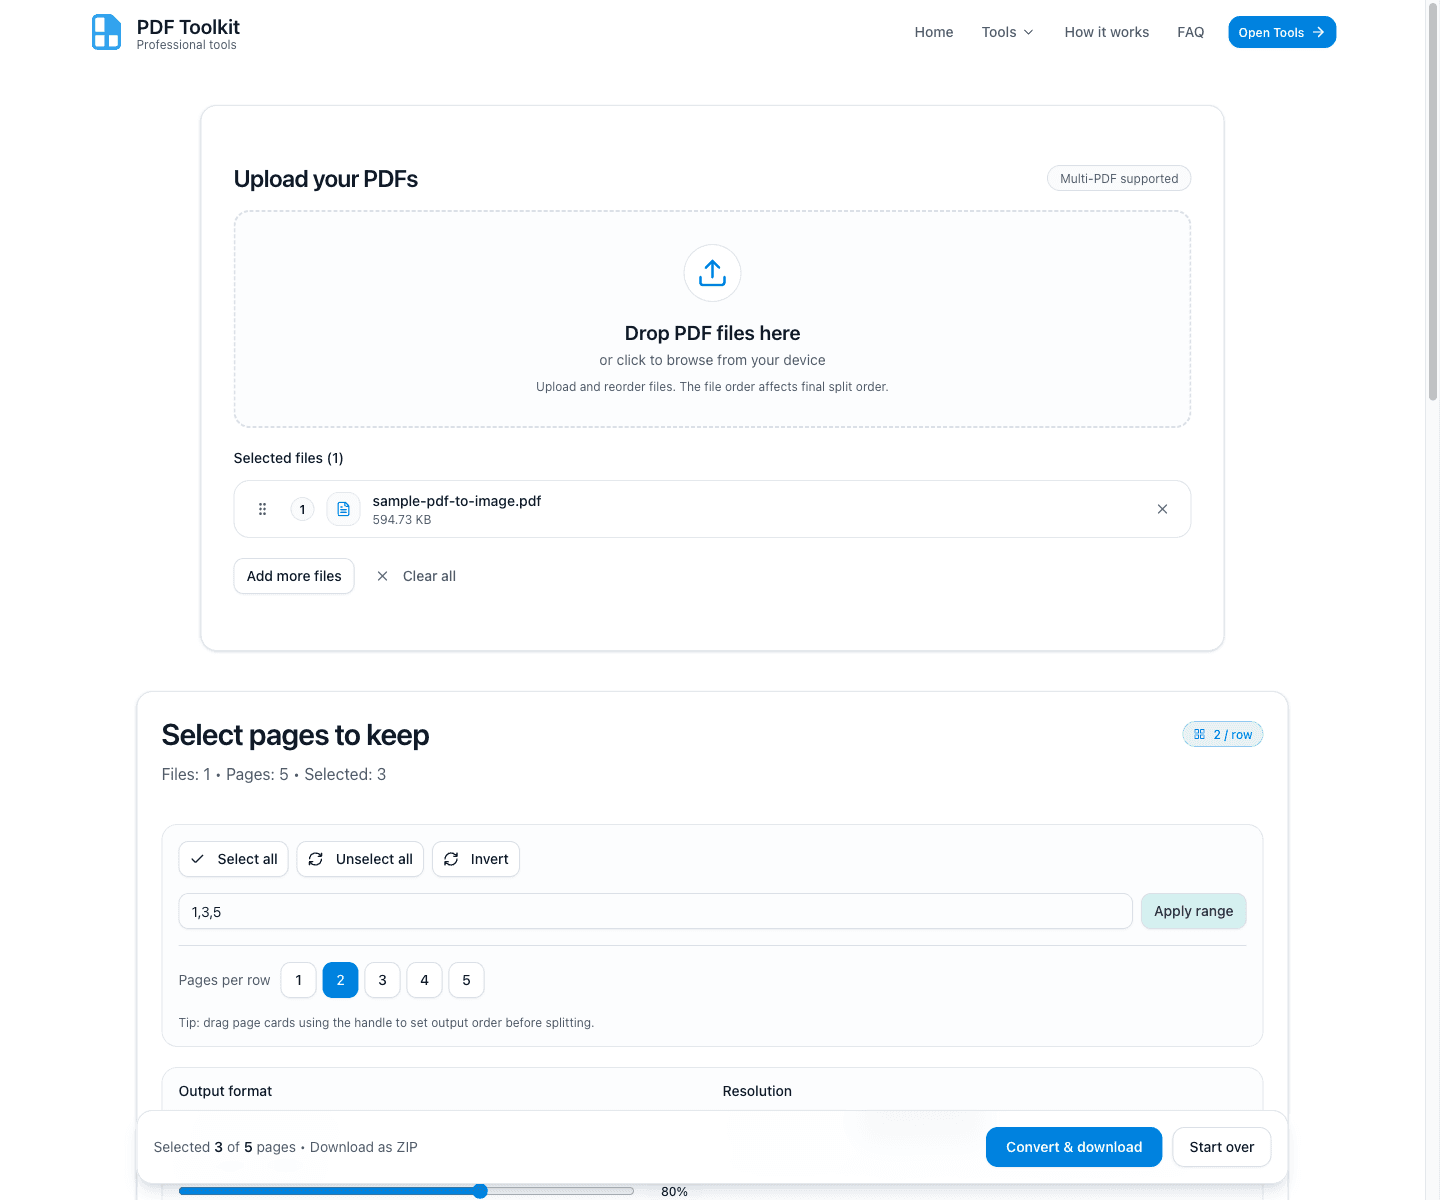
Use the custom range field (for example 1,3,5) and click Apply range to convert only specific pages. Then choose your output format and resolution.
- PNG (best for charts/text) is ideal for crisp lines and labels.
- JPG (smaller file size) enables the JPG quality slider.
- Choose Screen (72 DPI) for web use or Print (300 DPI) for higher-quality exports.
Preview a Page Before Conversion

Click the page Zoom icon (or preview action) on any page card to open the Page preview dialog. This helps you verify text readability and image quality before exporting all selected pages.
Click “Convert & download” and Wait for the Download

When your selection and settings are ready, click Convert & download. The tool renders each selected page and starts the download automatically when finished.
- If multiple pages are selected, the tool downloads a ZIP file containing all converted images.
- If only one page is selected, the tool downloads a single image file directly.
- Use Start over if you want to clear the current PDF and begin again.
Best Practices and Notes
- Use PNG for UI screenshots, charts, and documents with sharp text.
- Use JPG with adjusted quality for smaller file sizes when perfect sharpness is less important.
- Preview a page first when you plan to use Screen (72 DPI) and need to confirm readability.
- Use a custom range to avoid converting unnecessary pages and reduce processing time.
- For print or detailed review, switch to Print (300 DPI) before converting.
Try the Tool
Use the live PDF to Image tool to convert PDF pages into JPG or PNG securely in your browser.