This tutorial shows how to use the Image to PDF tool step by step on the live PDF Toolkit site. You will learn how to upload one or more images, configure page setup, organize and rotate images, preview the generated PDF, and save a final PDF file in your browser.
Why Use Image to PDF?
Combine Multiple Images
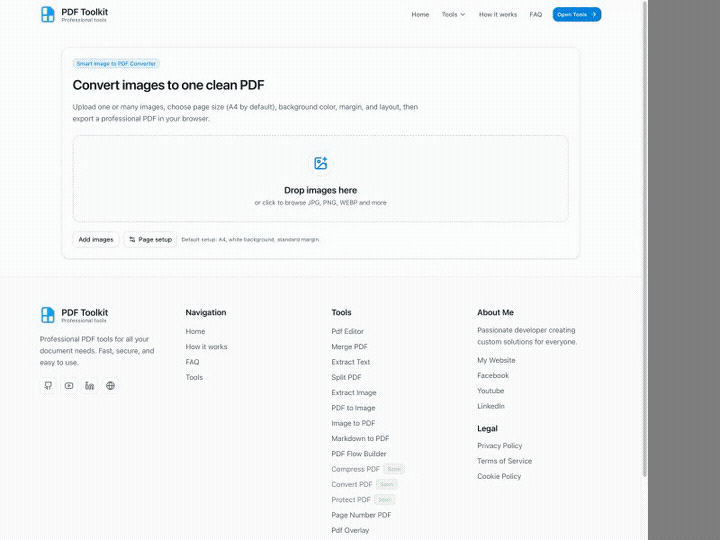
Merge JPG, PNG, WEBP, and other image files into a single PDF document with drag-and-drop ordering.
Page Setup Controls
Choose page size, orientation, background, margins, and layout mode before exporting your PDF.
Private Browser Export
Your images are processed and converted in the browser, without uploading to an external server.
Open the live Image to PDF tool and follow the same buttons and settings shown in this tutorial.
Open Image to PDF ToolQuick Walkthrough (GIF)
This GIF shows the complete flow: upload images, configure page setup, organize and rotate images, preview the PDF, and save it.
How to Convert Images to PDF (Step by Step)
Open the Image to PDF Tool

Open the tool page and look for the Drop images here upload area. The toolbar under it includes Add images and Page setup for quick configuration.
Upload Images and Configure Page Setup

After your first upload, the tool can open the Page setup dialog automatically. This is where you define the PDF page layout before exporting.
- Choose a Page size like A4, Letter, Legal, A3, or a Custom size.
- Set Orientation to Portrait or Landscape.
- Adjust Background, Margins, and Image layout (Fit to page, Fill page, Original size).
- Click Done to apply your settings.
Organize Images and Review the Live Page Preview

The workspace shows two key areas: Organize images (left) and the Live page preview + Export PDF panel (right).
- Drag items in Organize images to change the PDF page order.
- Use the live preview to see how your current page setup affects placement and margins.
- The Export PDF card includes Filename, Preview PDF, and Save PDF.
Rotate Images and Set Your Output Filename

Use the Rotate image action on any row if an image is sideways. Then edit the Filename field so your downloaded PDF uses a meaningful name.
The tool appends a timestamp automatically when you click Save PDF, so a clear base filename helps keep exports organized.
Preview the Generated PDF Before Downloading

Click Preview PDF to generate and open the Image to PDF Preview modal. This lets you inspect page order, orientation, margins, and layout before final export.
- Use the built-in viewer to review thumbnails and navigate pages.
- Click Open in new tab if you want a larger preview window.
- Click Close to return to the editor and make changes.
Click “Save PDF” to Download Your File

When everything looks correct, click Save PDF. The tool generates the final document and downloads a timestamped file such as image-to-pdf-demo-YYYYMMDD-HHMMSS.pdf.
Best Practices and Notes
- Set up page size and orientation first so your images fit the intended document format.
- Use Fit to page to avoid cropping when image edges are important.
- Use Fill page when you want each page to look full-bleed (cropping may occur).
- Rotate images before export to avoid mixed orientations in the final PDF.
- Always run Preview PDF when combining many images or mixed aspect ratios.
Try the Tool
Use the live Image to PDF tool to combine and convert images into a single PDF securely in your browser.