How to Build Your First FastAPI App – Step-by-Step

Thirdy Gayares
Author
In this article, I will show you how to set up a FastAPI project step by step. This guide is perfect for beginners who want to start using FastAPI to build modern Python APIs quickly and efficiently. By the end, you will have a working API server ready for development and deployment.
Important Note
Before starting, make sure you have Python 3.7 or higher installed on your machine. FastAPI requires Python to run. You can download and install it from the official website: https://www.python.org/
1. Check Python Version
python --version2. Create a Virtual Environment
python -m venv .venv
3. Activate Virtual Environment
On Windows:
.venv\Scripts\activateOn macOS / Linux:
source .venv/bin/activateYou will know that your virtual environment is activated when you see the environment name at the beginning of your terminal prompt, like this:
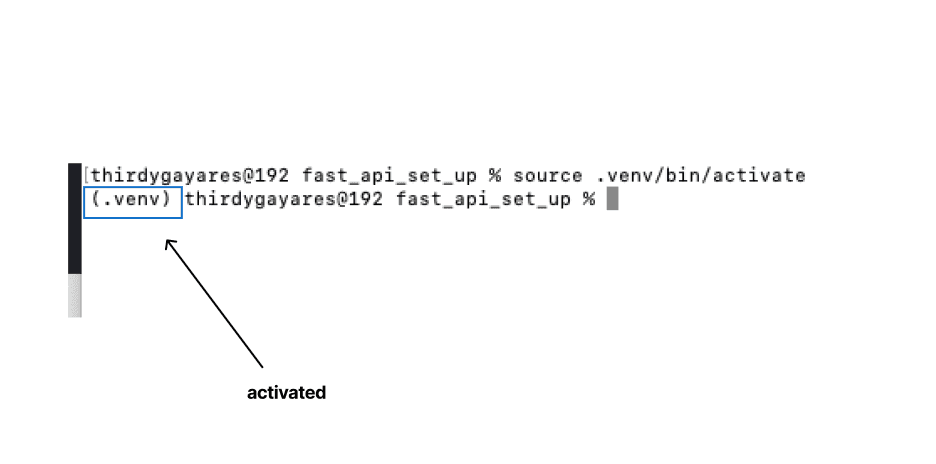
This means all Python packages you install (like FastAPI, Uvicorn, etc.) will now be installed inside this environment only – not system-wide.
If you don't see (.venv) in the terminal, that means the activation failed. Try again or check the path.
4. Install FastAPI and Uvicorn
pip install fastapi uvicorn
5. Create main.py
from fastapi import FastAPI

app = FastAPI()

@app.get("/")
def read_root():
    return {"message": "Hello, FastAPI!"}
6. Run the FastAPI App
uvicorn main:app --reload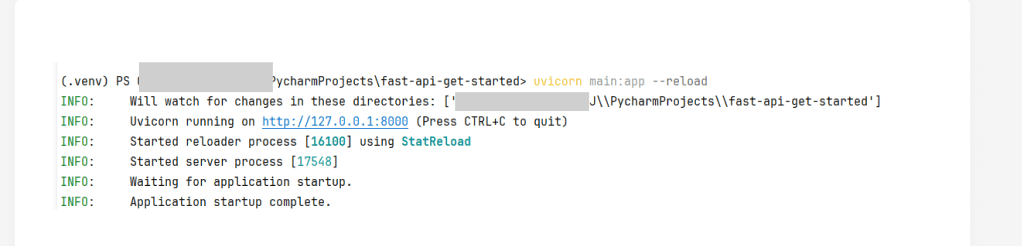
7. Access FastAPI in Browser
http://127.0.0.1:8000{
"message": "Hello, FastAPI!"
}8. Explore FastAPI Docs
Swagger UI:
http://127.0.0.1:8000/docsReDoc:
http://127.0.0.1:8000/redoc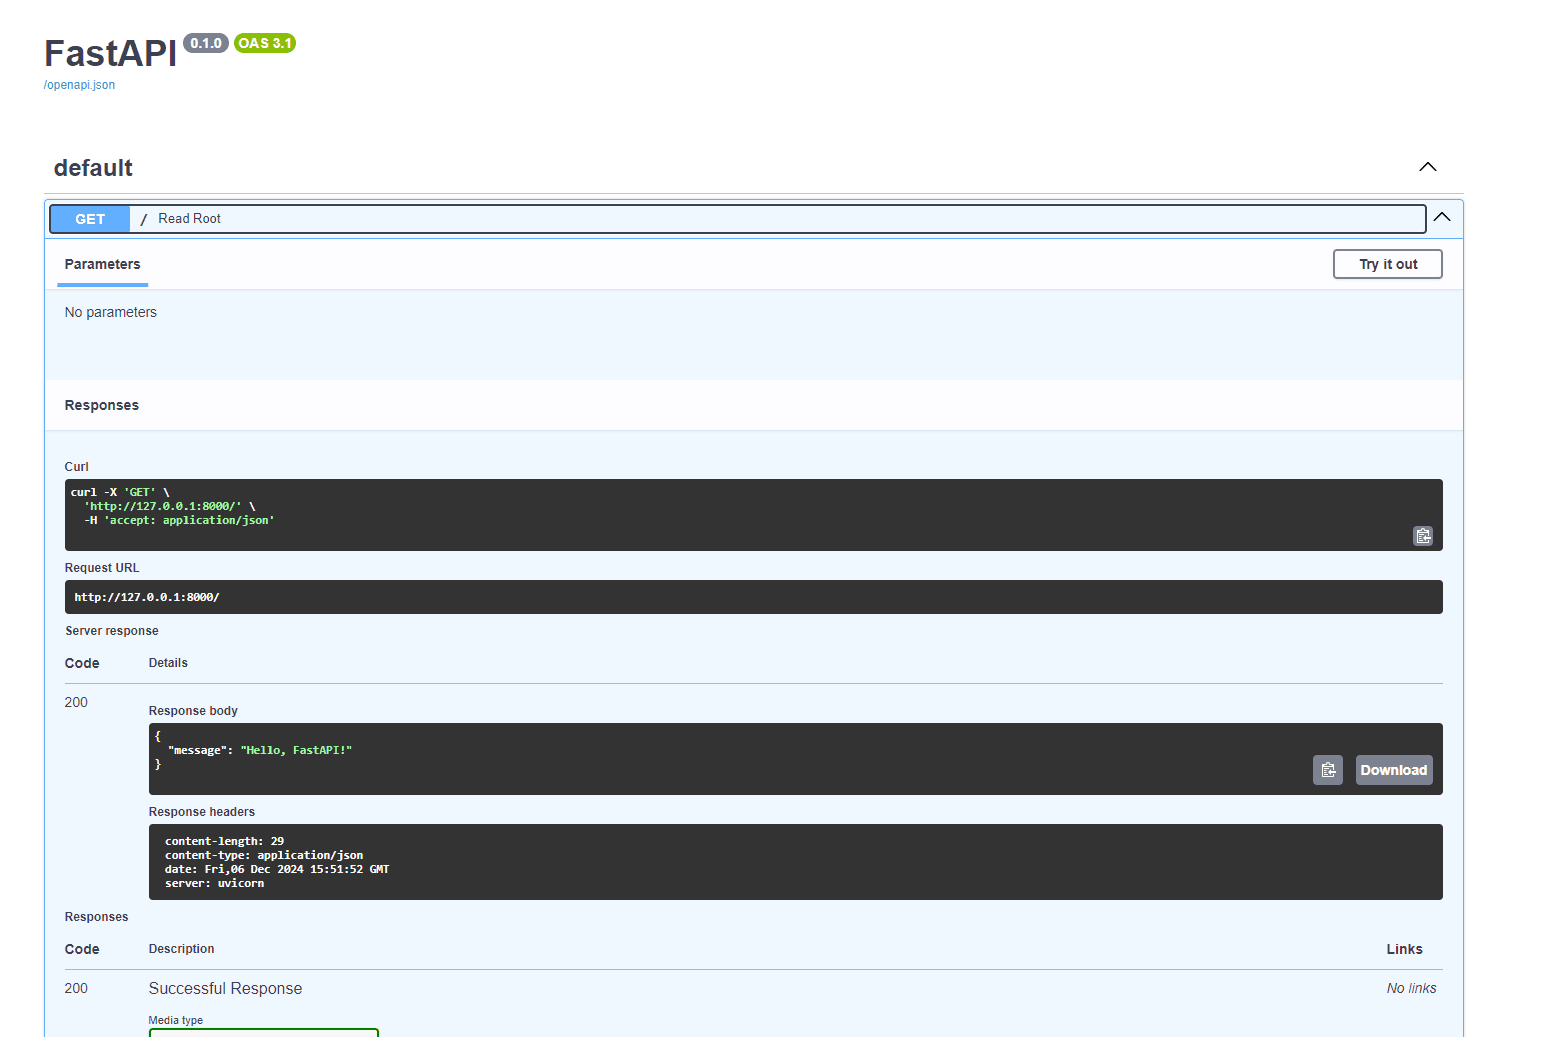
9. Add More Routes
@app.get("/items/{item_id}")
def read_item(item_id: int, q: str = None):
    return {"item_id": item_id, "q": q}
Test it in browser:
http://127.0.0.1:8000/items/42?q=test{
"item_id": 42,
"q": "test"
}10. Create requirements.txt (Optional)
pip freeze > requirements.txtpip install -r requirements.txt